Intercepting Android Emulator SSL traffic with burp using magisk
In an android security testing intercepting SSL traffic from the apk is one of the basic requirement. Their are many ways in which it can be done
- Using Genymotion
Genymotion is the easiest one cause the emulators that comes with it is rooted. This article here has pretty good explanation of configuring burp with genymotion https://blog.ropnop.com/configuring-burp-suite-with-android-nougat/
- Physical device
Everyone does not have the availability of an actual physical device to security test an android apk ( You can believe me or not )
- Android emulator
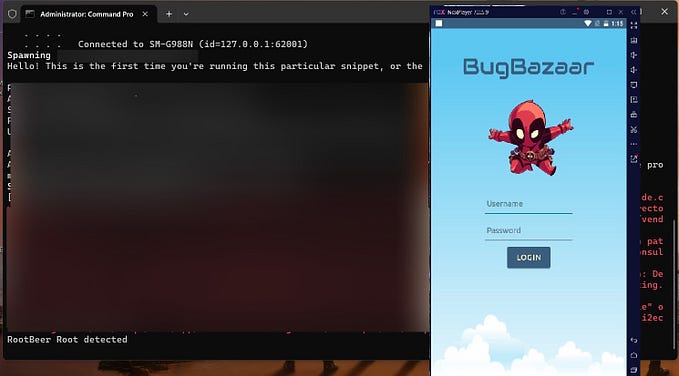
Android emulators can easily be configured using AVD that comes preinstalled when you install android studio. If emulator is the rooted one then we can use the same process for configuring burp as with genymotion, but rooted emulator comes with its own challenges of bypassing the root detection which are implemented in many apps.
So I am going the put down a step by step process ( these are all out there on the internet, not in one piece though ) in which we will use a plain emulator and install burp certificate as a system certificate with the help of magisk
Install Android Studio
Assuming everyone can do this
Create a device in AVD
- Start android studio and select Virtual Device Manager

2. Use the Create device button to create a virtual device

3. Select any device definition or pixel 5 because that looks good

4. select a system image , I will use API 30 for now ( download it with the link in release name column ) and click finish on the next screen

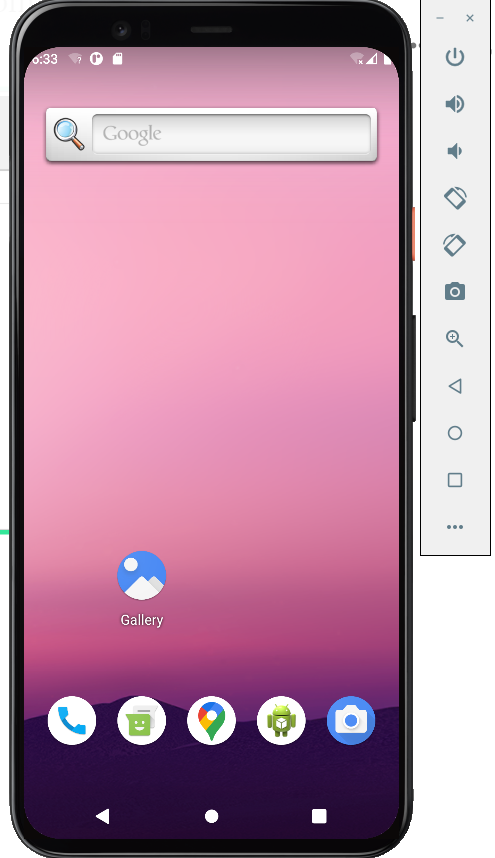
Now you have a device created, which you can start from the Device Manger screen

Click on the play button to start the device
Make sure emulator has internet connection, if not use the dropdown button on Device Manager window and click on Wipe Data ( probably reboot the emulator as well ) . Emulator should have a working internet now

Install Magisk
Few perquisites
- Download platform tools https://developer.android.com/studio/releases/platform-tools
- Magisk apk https://github.com/topjohnwu/Magisk/releases/download/v24.1/Magisk-v24.1.apk
- Download rootAVD repo from https://github.com/newbit1/rootAVD
We will use Magisk as our rooting solution and rootAVD script for installing magisk. This YouTube video here contains all the steps of rooting with magisk https://www.youtube.com/watch?v=JR4gDRYzY2c
- add platform tools in system path variable

2. Unzip rootAVD

3. put the downloaded magisk apk in the Apps folder ( unzipped rootAVD repo ). Change the name to Magisk.apk

4. Start adb server with the command adb start-server

5. run rootAVD.bat InstallApps , this will install Magisk app on the emulator device


6. Find the location of the system-image ramdisc.img file. This image file belongs to the API we use while configuring the device from device manager. It’s location will be %localappdata%\Android\Sdk\system-images\android-30\google_apis\x86\ramdisk.img , create a backup of the original ramdisc.img file and run the command
rootAVD.bat %localappdata%\Android\Sdk\system-images\android-30\google_apis\x86\ramdisk.img

Complete log of running above command for troubleshooting https://github.com/nirajchoubey12/Android-security/blob/main/Configuring%20burp%20with%20android%20emulator/RamdiskImgLog_rootAVD.txt
Installing “AlwaysTrustUserCerts” Magisk module
Start Magisk and select ok if it asks for addition setup

This will restart emulator. Start Magisk app again and click on 4th icon at the bottom of the screen

Download Alwaystrustusercerts.zip file from this link https://github.com/NVISOsecurity/MagiskTrustUserCerts/releases/download/v0.4.1/AlwaysTrustUserCerts.zip and transfer it to the emulator with command adb push AlwaysTrustUserCerts.zip /sdcard/download
If you are wondering, AlwaysTrustUserCerts.zip is a Magisk module which will covert the installed user certificates into system certificates
On the Modules screen click on install from storage

select the downloaded zip file

This will install the module

Installing burp certificate as system cert
After all this trouble we are at the last step
- Export burp certificate and save it as cacert.cer. push the cacert.cer to the emulator as done previously for the AlwaysTrustUserCert zip file

2. In the emulator go to Settings > Security > Encryption & Credentials > Install a certificate ( These options may vary for different types of devices ) and click on CA certificate

Emulator will show a warning, ignore that and click on Install anyway. Select the cacert.cer file

This will install burp certificate as the user certificate. Settings > Security > Encryption & Credentials > Trusted credentials , user tab

Now we have to reboot the emulator and AlwaysTrustUserCert magisk module will do its magic and add the burp certificate as system certificate. After the device reboot, burp certificate will gets added to system certificate

Configuring Emulator proxy for intercepting traffic with burp
Now we just need to configure the emulator proxy for the traffic to go through burp. Configure the emulator proxy as per the below image. Click on the 3 dots at the bottom and got to settings > Proxy > Manual proxy configuration. Click on Apply. Proxy status should show as Success

Now you won’t have problem intercepting the ssl traffic from emulator to burp

I hope this would help someone starting their journey in android security testing and works a reference for me.
Reach out to me on linkedin https://www.linkedin.com/in/niraj-kumar-choubey-7351b892/ and say hi. If you are stuck with any of the above process. Will try to resolve if I can.